

Or Holiday time, I guess.
In the next month I will be posting non-stop christmas gift, craft, and tutorials. Hope you enjoy!
Be sure to check out our new website!
http://caitiescrafts.webs.com/
Monday, December 7, 2009
Wednesday, October 7, 2009
Neat Art

For the second installment of the coolest Etsy shops, I have The Nightjar.
This shop features a lot of really neat hand painted items, but my favorite thing out of all of them is this felted cat head.

So cute!
I really recommend you take a look through this shop, even if just to admire the amazing art.
Tuesday, October 6, 2009
Cute Plush Shop

Everyday this week I am planning on highlighting a new Etsy stop. Today is Pretty Little Fings!
"Hello and welcome to the Pretty Little Fings store! What started off as Christmas presents for my family and friends has snowballed into a full fledged one woman hand-crafting operation. Every Fing is made with love in a pet (Boston Terrier & a Cat) friendly household and is one-of-a-kind.
please feel free to convo me with any questions or inquiries about a custom made plush. i'd love to work with you!"
They also have a blog!
Monday, October 5, 2009
Resin Casting and..stuff.

Here's how it will work: If you are interested you should send me an email here on Etsy or at caitieb9 [!at] yahoo.com. I will then give you my address and you will be able to send me the item you want cast in resin along with your specific instructions (What kid of mold, how you picture it looking, etc.) I will charge based on how many items you want made. for example if you want 5 pendents made I will charge about 25 dollars, but if you only want one I will charge about 10 dollars. (Ask in first email).
When the item is done and dried I will create a custom listing for you here on Etsy for you to buy.
Also, if you want me to turn the item into a necklace, bracelet, etc. after it is done I will do so for just a bit more! Please specify in email.
Sunday, October 4, 2009
Photoshop Skillz

Yeahh, Skillz.
From my etsy:
Do you have old pictures of relatives that have stains of creases? a picture of your kid that he/she decided to use as a canvas? I will photo shop almost any picture of yours for a lot cheaper than almost anyone else. As a photographer, I work with photo shop everyday and enjoy doing it. So let me fix your priceless pictures!
Here's how it works, Send me an email (on here or caitieb9 [!at] yahoo.com) and say you are interested in this service. Then, Send me your picture (in as big of a size as you can get it. You can send it to me by emailing it to my caitieb9 [!at] yahoo.com or uploading it to a website and sending me the link. I will then fix it up for you and send you a sample of the image to make sure you are satisfied. When you are, I will create a custom listing on Etsy for you and once I have received payment, I will email you the image.
I will charge 8.50 USD an hour and most jobs will only last an hour or two (Depending on severity of damage.)
Saturday, October 3, 2009

Friday, October 2, 2009
Make your own loom!

Check out this tutorial on how to make a loom using simple power tools and cheap supplies. As she says:
Happy Weaving!"That's right. You can use powertools. That automatically makes your scrap loom -makes anything, really- a hundred times more awesome."
Thursday, October 1, 2009
Wednesday, September 30, 2009
Tuesday, September 29, 2009

Monday, September 28, 2009
Starting College
I am Starting college today, wish me luck!
In honor of school starting back up (even if it's a little late for most people) I decided I would do a back to school related tutorial. I've always wanted to learn how to make my own notebook so I went on a search to find a good tutorial. Rachel Simonsen provides a neat hand drawn one on her website that you should definitely check out! but if you're into the more straight forward thing check out this instructables article.
In honor of school starting back up (even if it's a little late for most people) I decided I would do a back to school related tutorial. I've always wanted to learn how to make my own notebook so I went on a search to find a good tutorial. Rachel Simonsen provides a neat hand drawn one on her website that you should definitely check out! but if you're into the more straight forward thing check out this instructables article.
Sunday, September 27, 2009
Harry Potter Crafts
 From the Leaky Cauldron Website:
Are you so good at knitting, sewing and/or cross-stitching that your relatives are sure you are a witch in disguise who uses magic to conjure up wonderful things? Have you read the Harry Potter books so many times you can quote them to all the Muggles of this world? If so, why not combine the two and make some Harry Potter Crafts? This section of TLC will bring you pictures, tutorials and patterns so you can potterize your favorite crafts and Harry Potter costumes.
Saturday, September 26, 2009
Beaded Bangles
 These bangles look so fancy and expensive but they are so easy to make! You have Danwei over at Craftster.org to thank for this tutorial!
Friday, September 25, 2009
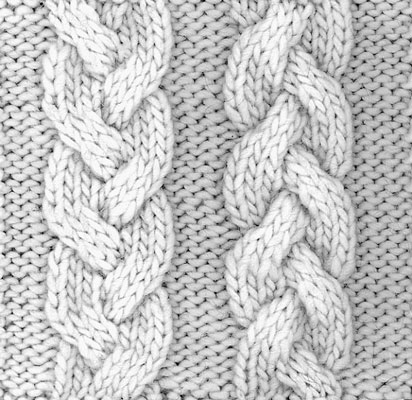
Owl Sweater Knitting Pattern
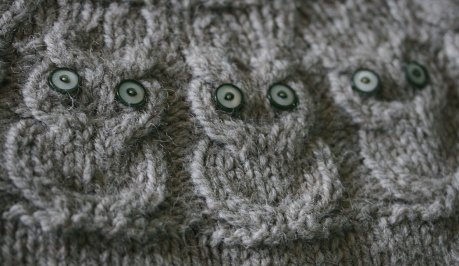
I thought this sweater was so cute! But it's a little over my head. Maybe I'll tackle it someday. For now, enjoy your own!
Thursday, September 24, 2009
Simple Tote Bag
 I just LOVED this tote bag and plan on making it myself soon. I thought I would share this tutorial with you so you can make it youself!
Wednesday, September 23, 2009
Tuesday, September 22, 2009
Knit Ferrari
Seen on Craftster:
Posted by by sweets4ever
Posted by by sweets4ever
What does a 22-year old do when she wants a Ferrari? She creates one. She knits one, to be exact. Crafty Lauren and 20 of her family members and friends created this Ferrari out of 250 squares of garter stitch. The full-size car was created in 10 months and is crafted from nearly 12 miles of yarn.You had better get knitting, if you plan to give these bad boys out as holiday presents this year!

Monday, September 21, 2009
Resin Knitting Needles
 I recently ordered a resin kit off of Etsy and was looking around for crafting ideas. I came across this on Craftster.com and decided to share this idea with you!
Sunday, September 20, 2009
Goodreads
When I'm not crafting, I can usually be found sleeping, reading, or online. With this blog I combine crafting and online, but now I've found a website that lets me combine reading and being online!
Goodreads describes itself as:
If you get a Goodreads account Add Me
Goodreads describes itself as:
"Goodreads is the largest social network for readers in the world. We have over 2,400,000 members who have added over 57,000,000 books to their shelves. A place for casual readers and bona-fide bookworms alike, Goodreads members recommend books, compare what they are reading, keep track of what they've read and would like to read, form book clubs and much more. Goodreads was launched in December 2006. "I get so much more out of it though. It pushes me to read books to raise my number o books read, allows me to find good books to read, and lets me discuss good books with a wide array of people.
If you get a Goodreads account Add Me
Saturday, September 19, 2009
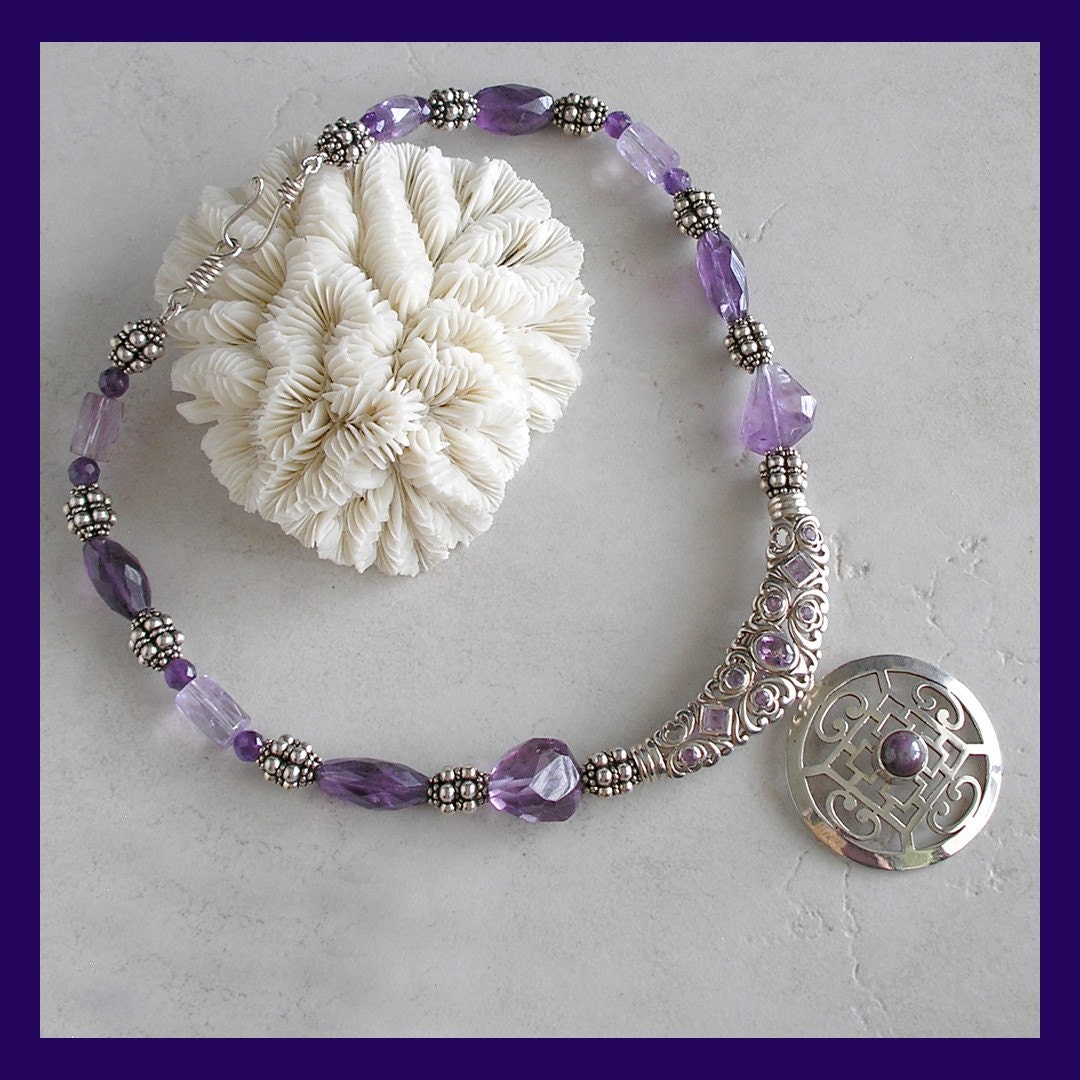
Green Friendship Necklace
Puzzled by what to do with that 999 piece puzzle piled in the back of your closet? Brush it off and put a new twist on those split-heart friendship necklaces. When you use two connecting pieces, you can keep one for yourself and give the other to your better half.

Friday, September 18, 2009
Here's a great green and crafty way of making beautiful earrings out of plastic cups!
Post By: Elizabeth SewardWith every celebration like this, plastic cups are left throughout the house, waiting to be recycled or reused the next day. While plastic cups can be recycled, thankfully, you can also make some pretty nifty earrings out of them, too. Making these funky earrings from your used plastic cups is easy.
1. Locate Your Plastic Cups
Image courtesy of Elizabeth Seward.Clean them out thoroughly.
2. Make Rings
Image courtesy of Elizabeth Seward.Cut them into rings by simply cutting straight across the cup.
3. Assemble Your Earrings
Image courtesy of Elizabeth Seward.Tie the rings together with string and attach that string to earring backs.
Enjoy! This project is a great way to reuse those pesky plastic cups from your party and be fashionable while you're at it. We also recommend opting for reusable cups instead, but if these show up, here's a way to reuse them.


Thursday, September 17, 2009
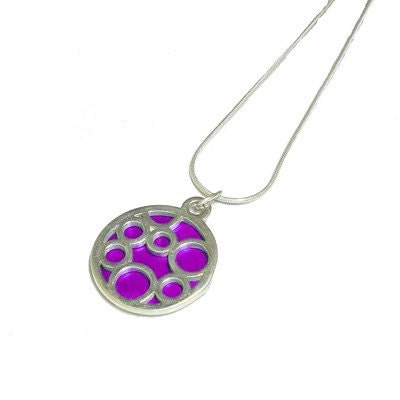
Eyeglass Pendants
Here's another repost from the Planet Green Website (I just love them!)
Credit Dawn Anderson/Lark Studio
Post By Blythe Copeland
We've talked before about how to donate old eyeglasses, but if you'd rather reuse than recycle, turn your lenses into pendants with simple chains and one very unexpected material.
You might look at a security envelope and see junk mail, but Dawn from Lark Studio sees "phenomenal" prints. Save your next leftovers and cut them to fit eyeglass lenses from pairs of your old prescription; then pair with simple chains, exotic beads, or classic clasps for a pendant with a modern shape, graphic pattern, and chic silhouette.
Pair the clear version with a simple black tank; the blue with a strapless cocktail dress; and the green with a basic sweater--and no one needs to know that you're wearing your junk mail. Or collect your own envelopes and see what other combinations you can come up with. Don't wear glasses? Use any clear, flat pendant to make a design of your own.
The project at Lark Studio was inspired by a similar idea from Naughty Secretary Club, where out-of-date or expired lenses are decorated with petite charms and vintage photos. There, you can find step-by-step instructions for separating the frames from the lenses and attaching the background with decoupage.

Wednesday, September 16, 2009
Bird feeder
I found this blog post on the Planet Green Website and just couldn't resist sharing it with you. One of my favorite things to do is feed the birds in the winter, so here's an eco friendly way to feed them, while getting your kids involved!
Birdseed Ornaments
These are best for cooler weather because in the heat they just melt into seed filled puddles of fat. They are great cheap, Christmas gifts that kids can make for grandparents and teachers. Use organic ingredients in these. It's healthier for the birds, too.Materials:
- Organic wild birdseed
- 1 cup organic peanut butter (crunchy works well)
- 1 lb. of vegetable shortening
- ½ cup of oatmeal
- ½ cup of cornmeal
- ½ cup of raisins
- Metal cookie cutters or molds (Tuna cans with both ends removed work fine.)
- Twine
Instructions:
- Cover a cookie sheet with parchment, waxed paper or a silicon sheet like Sil-pat. Set aside.
- Melt the vegetable shortening and the peanut butter over low heat, stirring constantly.
- When the mixture is completely melted and blended add the remaining ingredients and stir to coat.
- Spoon the warm mixture into the molds.
- Let cool and then chill in the refrigerator or freezer until firm.
- Remove the cake from the mold. You may need to warm the outside of the mold a little.
- Poke a knitting needle through the top to make a hole.
- Insert twine and knot into a loop.
- Hang outside for the birds to enjoy.
Tuesday, September 15, 2009
These yarns are some of my favorite not only because they are Eco friendly, but because the colors are so intense. I have made several products out of this yarn and have never been disappointed. The Caron website boasts
So why not give it a try?
"Every 10 skeins of Simply Soft Eco saves 6 plastic bottles from America's landfills."
And
"Caron has saved nearly 1,500,000 plastic bottles from America’s landfills, recycling the bottles as fiber in Simply Soft Eco."And even though you would think that the yarn would be rough from having plastic made into it, it is some of the softest and silkiest yarn I have ever used.
So why not give it a try?
Monday, September 14, 2009
Going Green
It seems to me that the crafting and living a green life should go hand in hand. Going green is a lot easier than you would think. In the next few days I want to share with you some simple ways to make your footprint just a little smaller.
On the Planet Green website they have tips and tricks to living a greener life. Here are just a few:
1. Bring a reusable bag wherever you go. Excess bags just add to the landfill and you don't need them in the first place. There's no reason not to do this. Try an easy Chico bag you can carry with you.
2. Ditch the processed food. It takes unnecessary energy to produce it, as well as tons of packaging.
3. Make your own cleaning products. Cleaning products (even eco-friendly varieties) often come in plastic bottles and they are trucked in from who knows where wasting tons of fossil fuels.
4. Calculate your water footprint. How can you know where you need to cut water usage if you don't know how much you're using and where you're using it?
5. Don't drink milk. Livestock consumes much of the land on the planet, whether for meat or dairy, and creates literally tons and tons of pollution, estimates are in the 1/5th of all greenhouse gases range.
6. Wear less makeup. Using less makeup will save us on resources and money, and you'll look better too.
7. Drink less bottled water, try to drink none. The U.S. sends two million tons of polyethylene terephthalate (PET) bottled water packaging to the landfill each year. Just drink the tap.
8. Wash your clothes in cold water. About 90 percent of the energy used for washing clothes is for heating the water.
9. Pass up the fast food joint, bring your own grub. Let me count the reasons why. There's the immense shipping programs emitting harmful gases, the millions of tons of waste generated annually, and not to mention the total lack of nutritional value in fast food restaurant's most popular menu items.
10. Skip Starbucks and brew your own coffee. Once we factor in the cost of the gourmet coffee and the cost of driving there, each time we brew a cup at home, we save about the equivalent of a gallon of gas.
11. Shut down your PC. If every American worker remembers to turn off their computer at night, the nation's companies would prevent the release of 39,452 tons of carbon-dioxide emissions, save $4.7 million in utility costs, and reduce energy consumption by 54.3 million kilowatt-hours per day.
12. Skip the store bought cereal and make your own granola instead. Cereal usually comes in a plastic bag within a cardboard box that all gets thrown away at least once a week if not more.
13. Become a weekday vegetarian. By cutting meat out of your diet entirely you save 5,000 lbs of carbon emissions per year, so even reducing your meat intake to two out of seven days will still make a big difference.
14. Grow some of your own food. This way you don't have to buy it and it's about as local as possible.
15. Add insulation to your attic. The Rocky Mountain Institute estimates it will save you 2,142 pounds of carbon dioxide emissions--through the heat your home retains in winter and doesn't gain in the summer--and hundreds of dollars in lower energy bills.
Sunday, September 13, 2009

Saturday, September 12, 2009
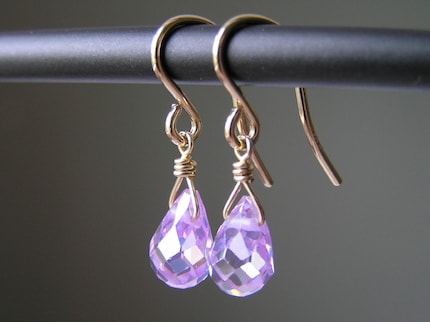
Fall Favorites
A collection of my favorite fall things off of Etsy.
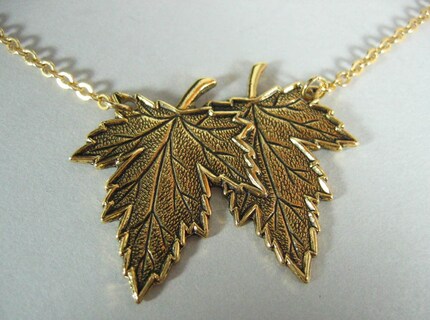
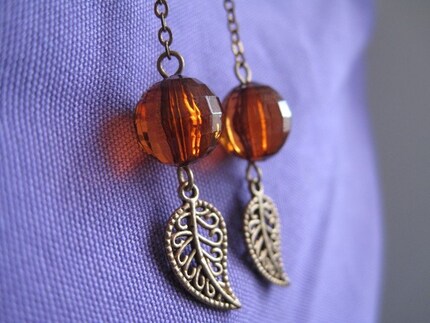
Double Leaf Necklace
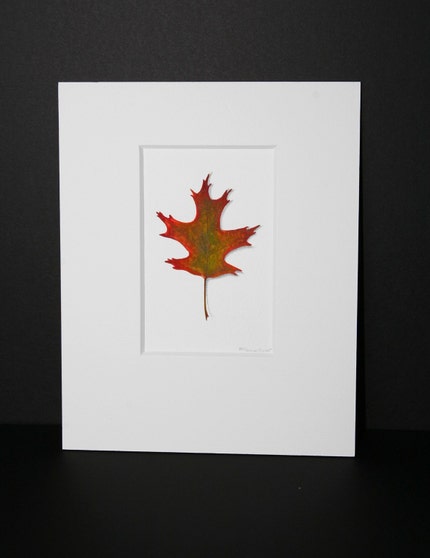
Oak Leaf Painting
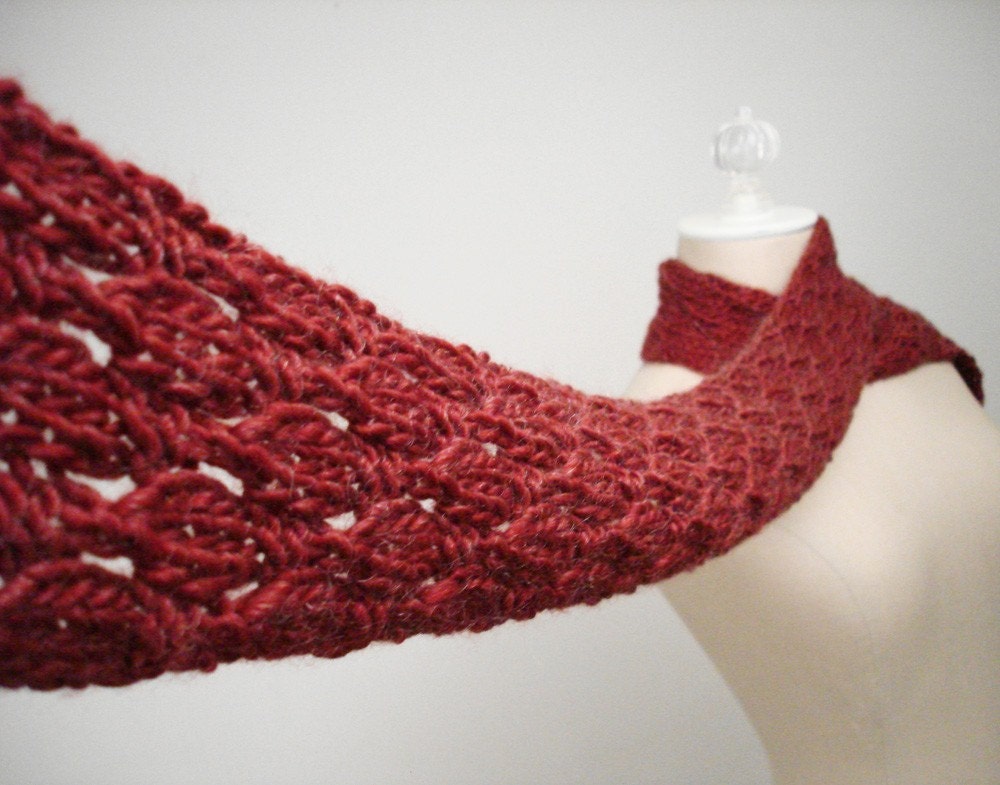
Soft Brick Scarf
Leaf Of The Fall
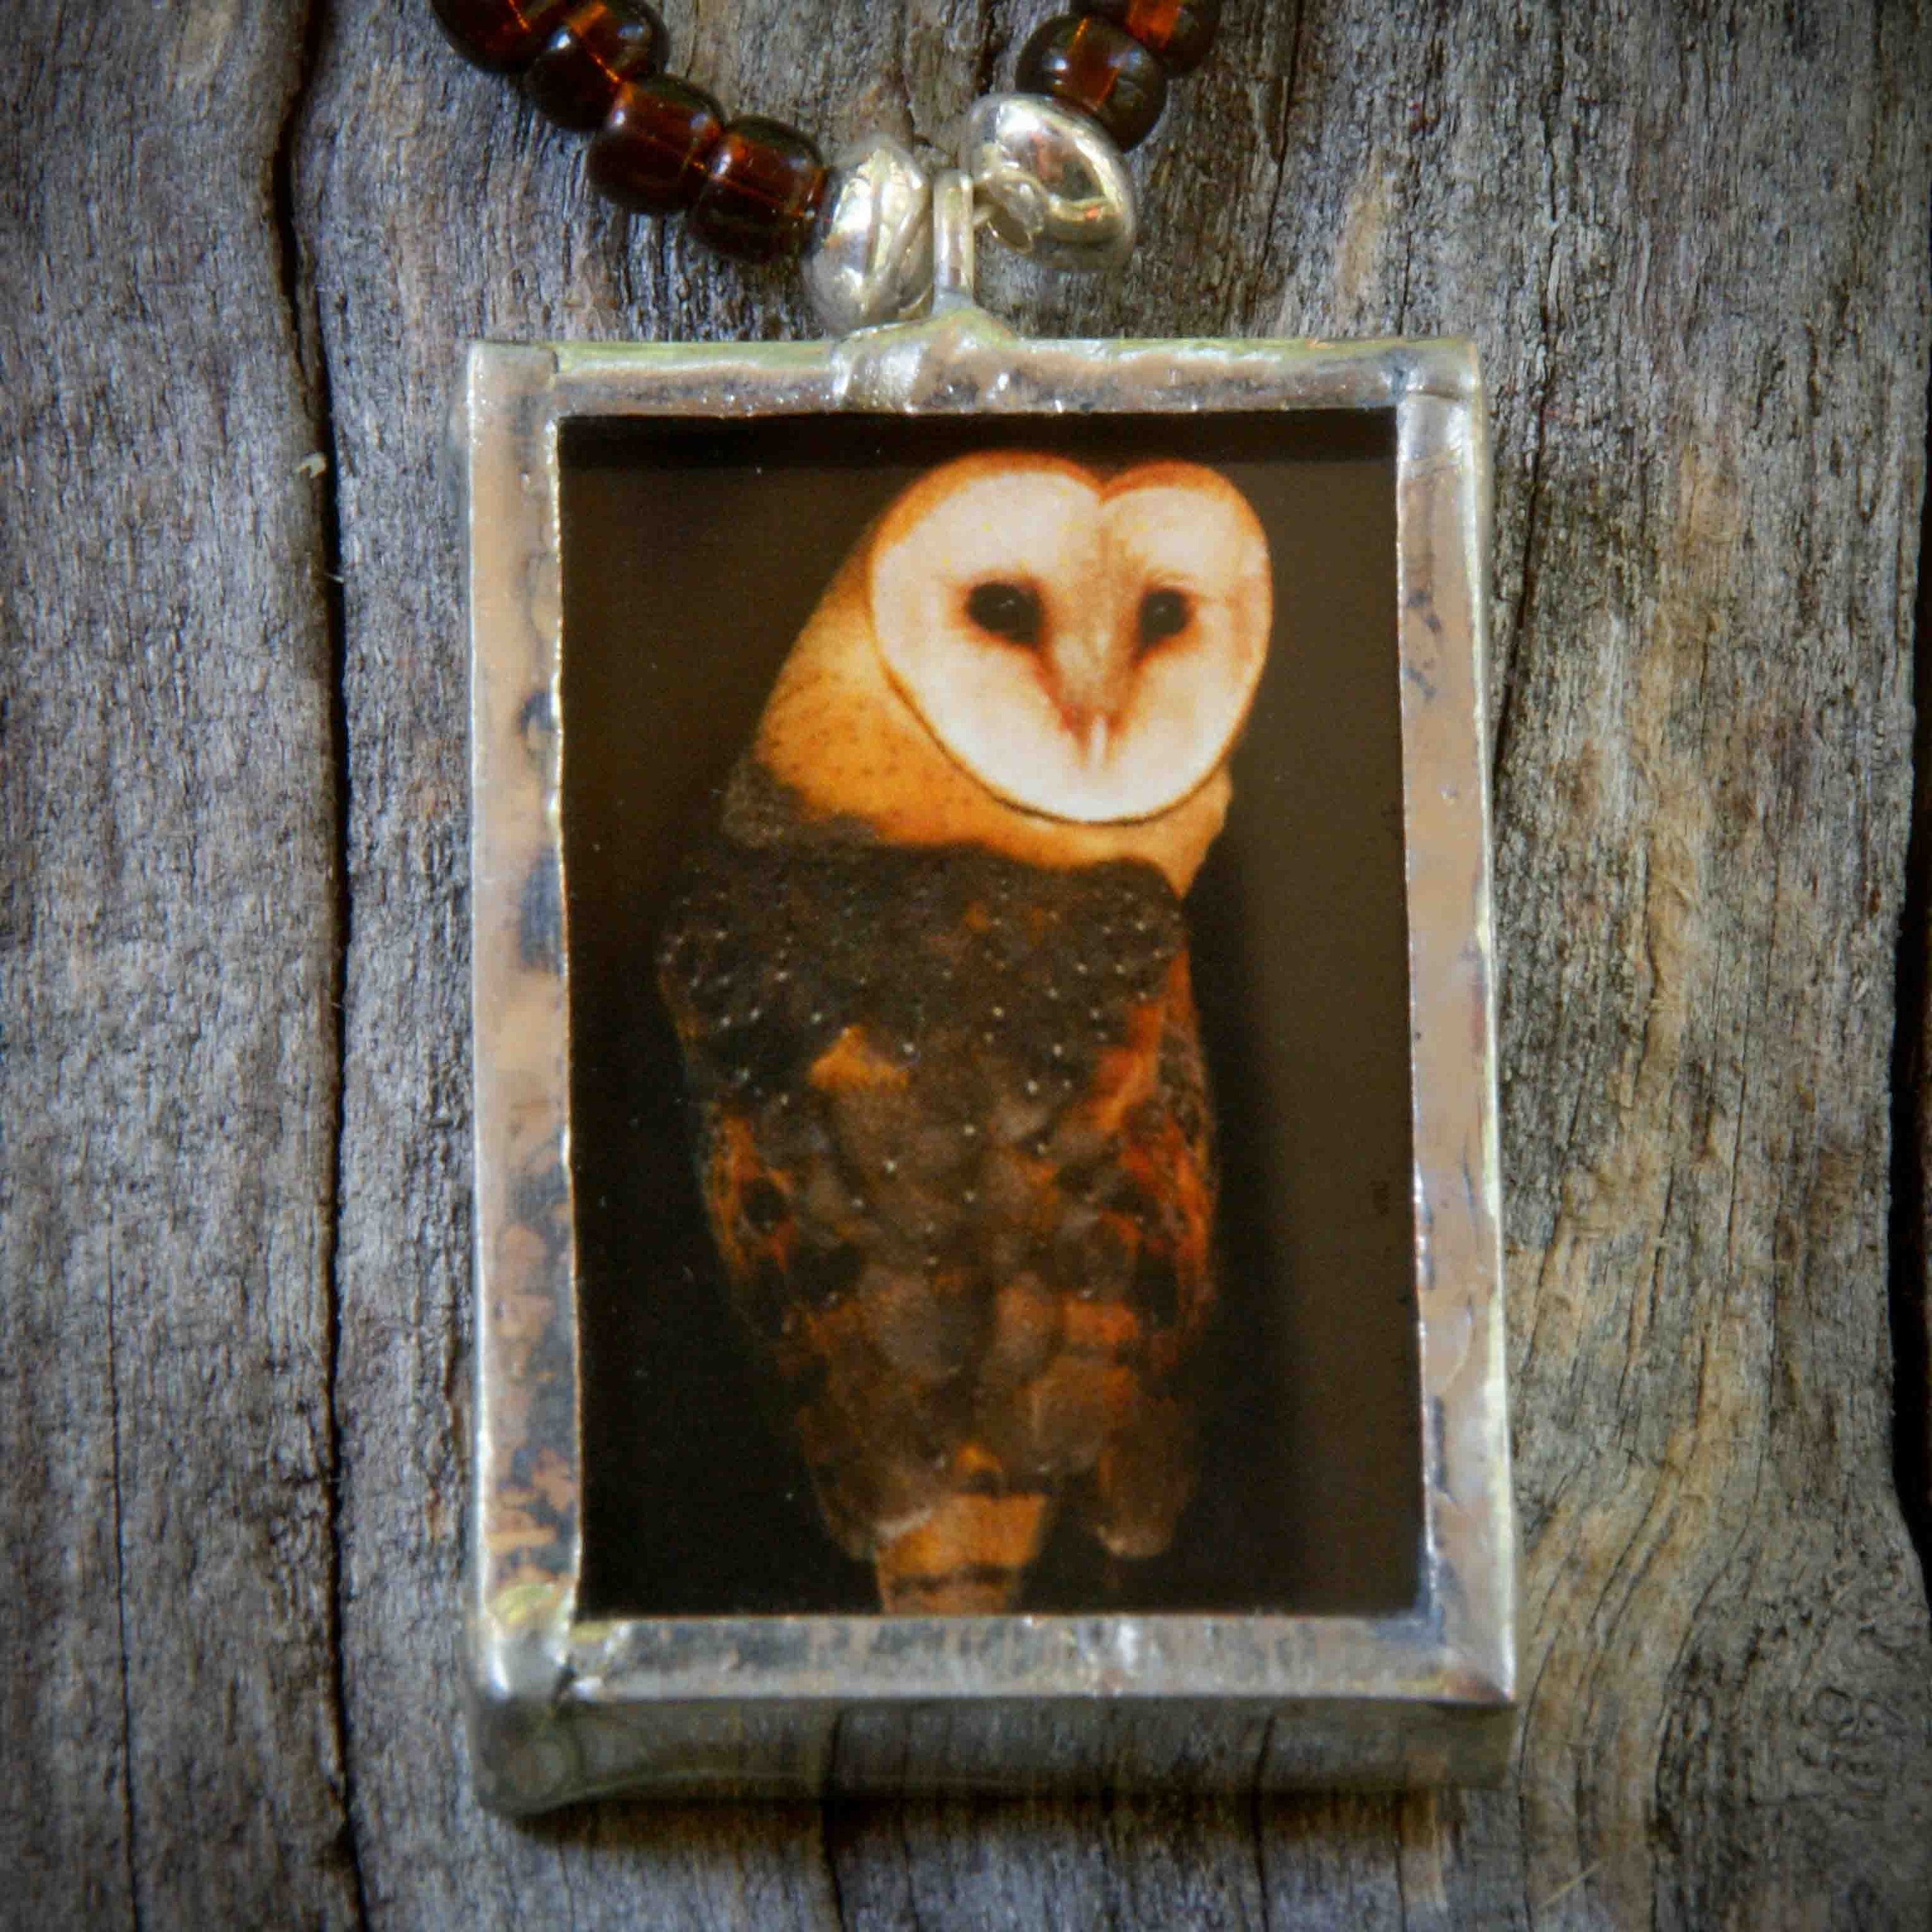
Night Owl - Reversible Picturebox Necklace
Wednesday, September 9, 2009


Friday, August 28, 2009
Hand Feeding Hummingbirds
 During the end of summer at this time of year a local state park allows you to hand feed their hummingbirds. I sat for about an hour and waited and waited with my vial (above) up in the air. People were running around me, talking, moving, and needless to say no hummingbirds came to me.
So, I thought, we have hummingbirds at home. What's stopping me from going out in my backyard and doing this. So we "snuck" out two vials (Don't worry, we donated money to the park.)
I sat in my back year for about 5 minuets after I removed their regular feeders. I wore a bright red shirt because I figured they would be more attracted to it. Low and behold, they came. One after another, fighting over the prize that I was holding in my hand!
If you would like to try this at home, I would recommend doing it soon (before they migrate)
You can use the vials like I did, or, i have seen people use caps. Also, I recommend wrapping whatever you use in red tape or pipe cleaners.
Good luck!
Thursday, August 20, 2009
Light Defuser
If your a photographer, you know how annoying it is to have harsh light ruin a photo, so here's a quick and cheap way to create a light defuser that actually works!

First, you should start off with a white-ish paper bag cut it down so that is is a rectangle about 2x2 inches.

Then you will take the edges and fold it in half 'Hotdog" style.

Fold it over and tape the edges together. this will create an envelope that you can slide down over your flash component.
I added some satin tape to one side so that one side was more opaque than the other.
And there you have it! Happy shooting!
Thursday, August 13, 2009


Film Lamp Shade
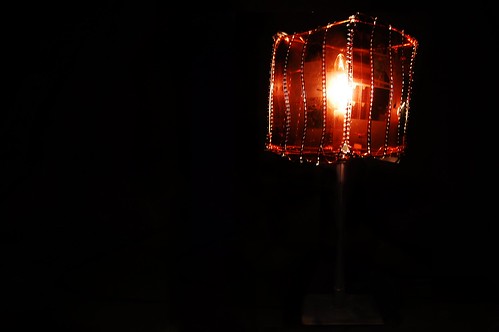
I made this lamp shade for a recycled art contest. It's a cute idea that adds flare to the boring lamps and lights. Because you use developed film the images that were on the film are shown on the wall and surrounding things. Here's how I did it:
1. Buy a lamp with a square lamp shape on it and collect your pre-developed film
2. Using the holes in the edge of your film, stitch the sides together to match the sides of the lamp. do this for each side.
3. After you have your 4 sheets of film, attach it to the top bar of the lamp using your fishing wire. Then continue with the bottom.
4. After you have attatched the top and the bottom, sew together each of the corners like you did the first sheets.
5. There you have it! Be sure not to have your light on for too long to avoid melting/fire. Enjoy!
Wednesday, August 12, 2009
Natural Clay Tutorial

When you live in a place with clay soil such as I do, you have the luxury of being able to go out into your back yard and harvest your own clay. But how exactly do you go about this? Today I'll e showing you my way of harvesting, storing, and using this unique clay.
Step 1
- Dig up the clay
- You can usually find clay in creek or river beds. Don't worry about getting bits of rocks or plants in there, we will take care of this later.
Step 2
- Let the clay dry outside. This will take several days. I put mine in a plastic tub or on cardboard. Also, e sure to take it in at night so that the dew doesn't settle on it.
Step 3
- Crush the Clay up by putting it in a ziplock baggie and using a hammer. Do this to gety it as fine as you can.


Step 4
- Use a mesh sifter (I got mine at a dollar store) to sift through the first time. Whatever doesn't go through you should put aside to smash a second time.(Step 3)
Step 5
- Repeat steps 3 & 4 until all is sifted.
Step 6
- Store until ready to use.
Saturday, August 8, 2009
Resin


I am really interested in trying out resin. I want to be able to make beads and pendants that have flowers and other tiny things in them. My cat has been into attacking the moths that fly around the poarch light, and I have been collecting the wings off the ones that she kills. A lot of the wings are beautiful and I can't wait to be able to put them in resin and wear them around. Have any of you ever tried using resin?
Subscribe to:
Comments (Atom)


